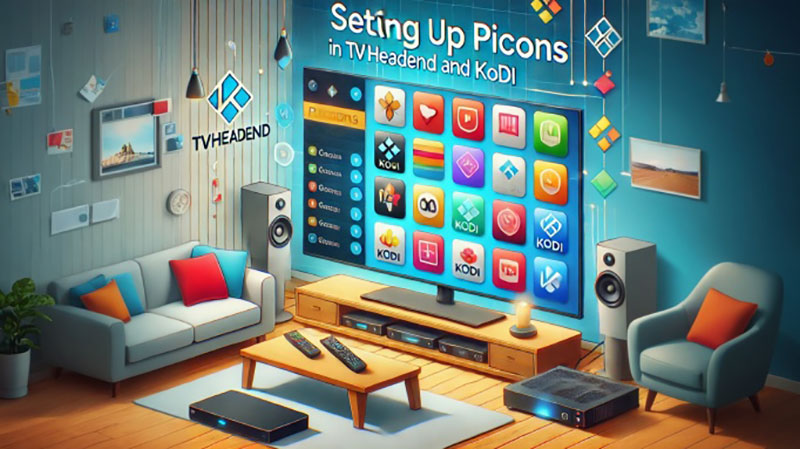
Unlock Stunning Picons in TVHeadend and Kodi for Perfect TV Viewing
When it comes to enhancing the media experience, few things can beat the flexibility and control provided by TVHeadend and Kodi. However, one feature that many users struggle to get right is the integration of picons (programmable icons). These small, visually appealing icons display TV channel logos and are an essential part of the overall viewing experience. If you’re looking to get picons working in TVHeadend and Kodi, you’re in the right place! In this article, we’ll guide you step-by-step on how to get your picons up and running smoothly.
What Are Picons and Why Are They Important?
Before we dive into the steps for setting up picons, let’s quickly clarify what they are.
Defining Picons
Picons are small graphical icons that represent TV channels. Think of them as logos that give you a visual representation of the channel you are watching. These icons are essential for providing an easy-to-navigate TV experience, allowing users to quickly identify channels based on their logos rather than reading lengthy channel names.
Importance of Picons
Not only do picons make your interface visually appealing, but they also improve navigation, providing a more user-friendly experience for viewers. Having picons in your TVHeadend and Kodi setup adds a professional touch to your home media center, making it feel more like a premium service.
Understanding TVHeadend and Kodi Integration
Before you can start setting up picons, you need to understand how both TVHeadend and Kodi work together to deliver your TV content.
What is TVHeadend?
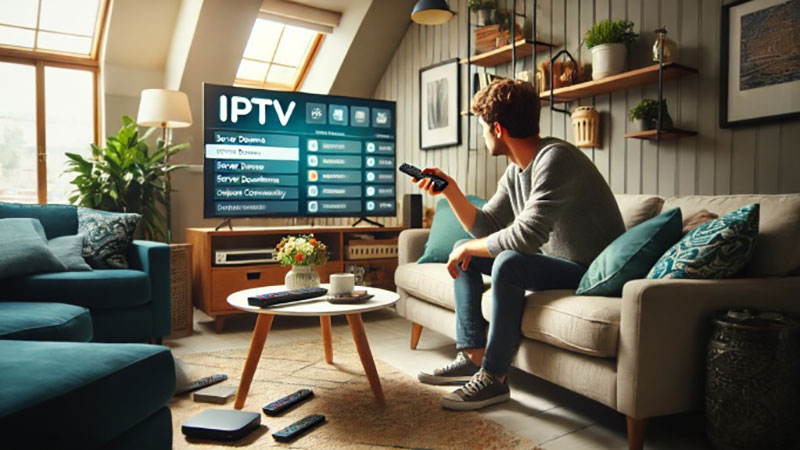
TVHeadend is an open-source TV streaming server for Linux-based systems that provides a way to manage and stream live television to devices on your network. It works with a variety of tuners and provides features like EPG (electronic program guide) and recording functionalities.
What is Kodi?
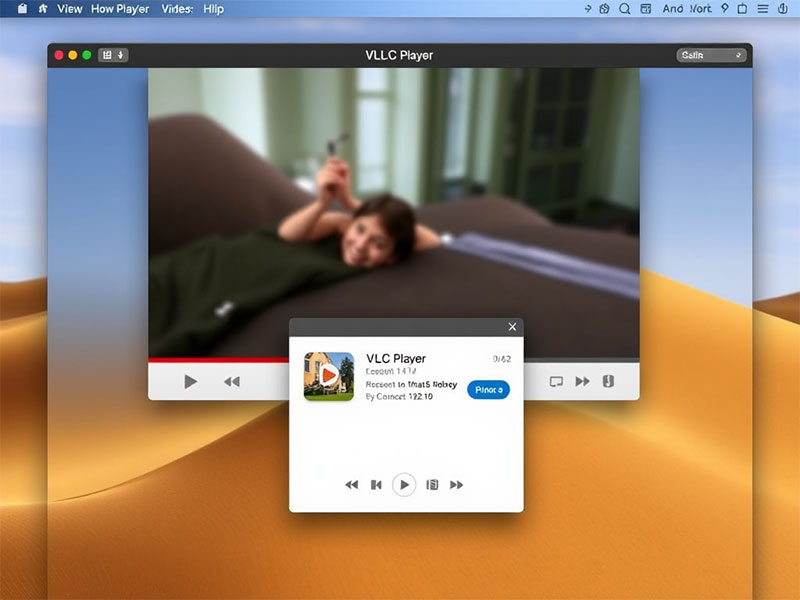
Kodi is an open-source media player and entertainment hub that allows you to stream and play almost any type of media content. Kodi has robust integration options, making it an excellent companion for TVHeadend, as it can be used to play live TV and manage recordings from your TVHeadend server.
Top Recommendation:
Discover the ultimate entertainment solution with 7 Days Great IPTV Subscription, designed just for you.
Prerequisites for Setting Up Picons
Before getting started, there are a few things you’ll need to make sure of:
1. A Functional TVHeadend Server
Make sure your TVHeadend server is properly set up and working. You’ll also need a tuner or compatible hardware to receive live TV broadcasts.
2. A Kodi Media Center
Ensure that Kodi is installed and running on your system or device. For best results, make sure your Kodi version is up-to-date.
3. Picons File Collection
You will need to download a set of picons. These can be found online, and many users opt to download them from repositories or dedicated websites. Ensure that the picons match the channels available through your TVHeadend setup.
4. Channel Mapping
Your channels in TVHeadend must be properly mapped and configured. If your channels are not recognized, Kodi will not display the correct picons.
Step-by-Step Guide to Getting Picons Working in TVHeadend and Kodi
Now, let’s dive into the steps to get your picons working in both TVHeadend and Kodi.
Step 1: Download Picons
The first step is to download the picons. There are several resources online where you can find collections of picons for different regions and broadcasters. Some popular sources include:
- Picons.org
- SatPimps Forum
- Picon Download Sections in Kodi Repositories
Download the picons that match the channels in your TVHeadend setup. The picons should generally be in the PNG or JPG format.
Step 2: Place Picons in the Correct Folder in TVHeadend
Once you’ve downloaded the picons, you need to upload them to the TVHeadend server. Follow these steps:
- Locate your TVHeadend server’s picons directory. This is usually found under
/home/hts/.hts/tvheadend/picons/or a similar directory based on your system configuration. - Copy the downloaded picons to this directory.
- Make sure that each picon is named according to the channel’s ID or name in TVHeadend to ensure correct matching.
Step 3: Enable Picons in TVHeadend Settings
After you’ve placed the picons in the correct folder, follow these steps to enable them in TVHeadend:
- Open the TVHeadend web interface.
- Go to Configuration > General > Logo settings.
- In the Picons Folder field, point TVHeadend to the folder where the picons are stored.
- Save the settings and restart the TVHeadend service to apply the changes.
Step 4: Configure Kodi to Display Picons
Once TVHeadend is configured to use picons, it’s time to set up Kodi to display them. Here’s how to do it:
- Open Kodi and go to Settings.
- Navigate to PVR & Live TV settings.
- Under General, select the TVHeadend PVR Client option.
- In the Channel Logo section, enable the Display Picons option.
- Choose the appropriate directory where your picons are stored (if Kodi cannot automatically detect them).
- Save the settings and exit.
Step 5: Test and Troubleshoot
After setting up both TVHeadend and Kodi, it’s important to test the setup. If the picons still aren’t showing up, try the following:
- Ensure that the picons are named correctly to match the channels in your TVHeadend server.
- Clear the Kodi cache by going to Settings > System > Storage > Clear Cache.
- Restart both TVHeadend and Kodi to refresh the configurations.
Common Issues and Solutions
Even after following all the steps, you may face some challenges while getting picons to work. Here are a few common issues and their solutions:
1. Missing Channel Logos
If some channels are missing logos, it could be because the picons for those channels are not in your collection. You can either search for additional picons or manually add them.
2. Incorrect Picon Display
If the wrong picon is displayed for a channel, double-check the naming convention. The picon must match the channel’s ID or name in TVHeadend.
3. Kodi Not Detecting Picons
Make sure the path to the picons directory is correctly set in both TVHeadend and Kodi settings. If necessary, rescan the TVHeadend channels in Kodi.
Conclusion
Getting picons to work in TVHeadend and Kodi can enhance your media experience and make your interface look more polished. By following the steps in this guide, you’ll be able to enjoy a professional-looking setup that displays your channel logos perfectly. With the proper configuration of both TVHeadend and Kodi, you’ll have a seamless, visually appealing TV viewing experience.
Frequently Asked Questions (FAQs)

1. What are picons?
Picons are small graphical logos used to represent TV channels. They make the interface more visually appealing and easier to navigate.
2. How do I get picons for my channels?
Picons can be downloaded from various online sources, such as picons.org, and should be named according to the channels in your TVHeadend setup.
3. Where do I store picons in TVHeadend?
Picons should be stored in the TVHeadend picons directory, typically located at /home/hts/.hts/tvheadend/picons/.
4. Why are picons not showing up in Kodi?
Ensure that Kodi is configured to use the correct picons directory and that the channel IDs match the picons filenames.
5. Can I use custom picons for specific channels?
Yes, you can download or create custom picons and manually place them in the picons folder, ensuring they match the channel IDs.