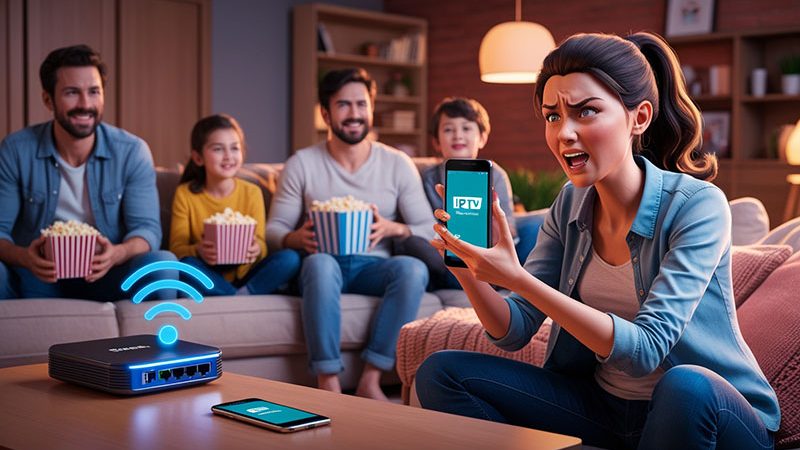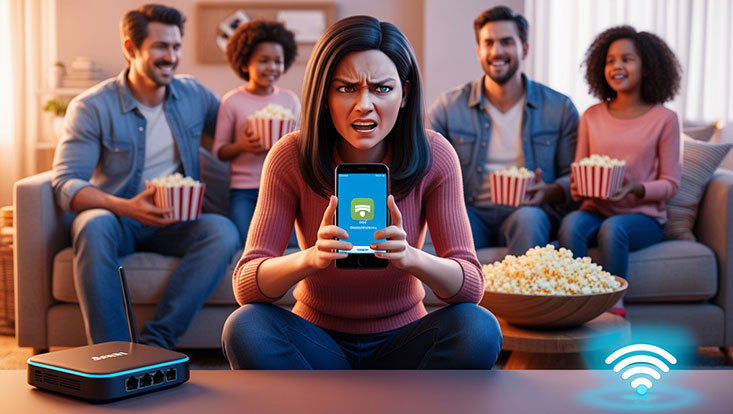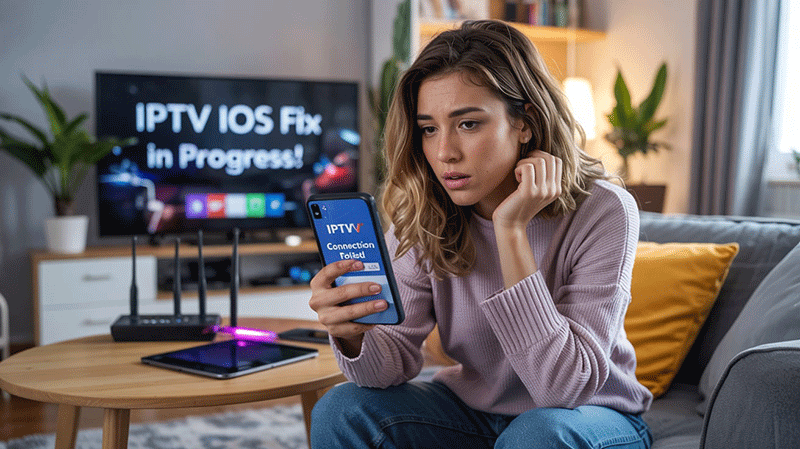
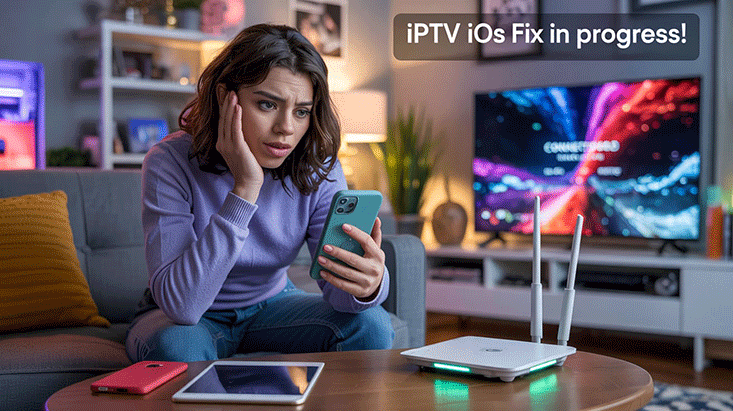
How to Fix IPTV Not Connecting on Mobile iOS: Troubleshooting Guide
If you’re facing the frustrating issue of IPTV not connecting on your mobile iOS device, you’re not alone. Many users encounter this problem due to various reasons, ranging from network issues to app misconfigurations. In this SEO-optimized guide, we’ll walk you through the common causes and provide step-by-step solutions to get your IPTV working seamlessly on your iPhone or iPad.
Why Is My IPTV Not Connecting on iOS?
Before diving into fixes, it’s essential to understand why IPTV might fail to connect on your iOS device. Here are the most common culprits:
- Unstable Internet Connection: IPTV requires a strong and stable internet connection to stream content.
- Incorrect App Settings: Misconfigured IPTV apps or wrong playlist URLs can lead to connectivity issues.
- Outdated iOS or App Version: Running an outdated operating system or IPTV app can cause compatibility problems.
- Firewall or VPN Restrictions: Security settings or VPNs might block the IPTV service.
- Server Downtime: Sometimes, the issue lies with the IPTV provider’s servers, not your device.
Top Recommendation:
Discover the ultimate entertainment solution with 7 Days Great IPTV Subscription, designed just for you.
Now, let’s explore how to troubleshoot and resolve these problems effectively.
How to Fix IPTV Not Connecting on iOS
Follow these actionable steps to resolve the “IPTV not connecting on mobile iOS” issue:
1. Check Your Internet Connection
A weak or unstable internet connection is often the primary reason IPTV fails to connect. To fix this:
- Ensure you’re connected to a stable Wi-Fi network or have strong cellular data (4G/5G).
- Test your internet speed using apps like Speedtest. IPTV typically requires at least 10 Mbps for smooth streaming.
- Restart your router by unplugging it for 30 seconds and plugging it back in.
2. Verify IPTV Playlist or URL
If your IPTV app uses an M3U playlist or URL, a typo or expired link could be the issue:
- Double-check the URL or file provided by your IPTV service provider.
- Contact your provider to ensure the playlist is active and hasn’t expired.
- Re-enter the URL in the app settings and save it.
3. Update Your iOS and IPTV App
Outdated software can cause compatibility glitches. Here’s how to update:
- Go to Settings > General > Software Update on your iOS device and install any available updates.
- Open the App Store, search for your IPTV app (e.g., IPTV Smarters, GSE Smart IPTV), and update it to the latest version.
4. Restart Your Device and App
A simple restart can fix temporary bugs:
- Close the IPTV app completely by swiping it away from the app switcher.
- Restart your iPhone or iPad by holding the power button and following the prompts.
- Relaunch the app and try connecting again.
5. Disable VPN or Firewall
VPNs and security settings can interfere with IPTV streaming:
- If you’re using a VPN, disconnect it temporarily and test the connection.
- Go to Settings > General > VPN & Device Management and ensure no restrictive profiles are active.
- Check with your IPTV provider if they recommend a specific VPN server.
6. Reinstall the IPTV App
Corrupted app data might be causing the issue. To reinstall:
- Long-press the IPTV app icon, select Remove App, and confirm deletion.
- Visit the App Store, download the app again, and re-enter your credentials or playlist.
7. Contact Your IPTV Provider
If none of the above works, the problem might be on the provider’s end:
- Check their website or social media for announcements about server outages.
- Reach out to their support team with details about your issue (e.g., error messages, app used).
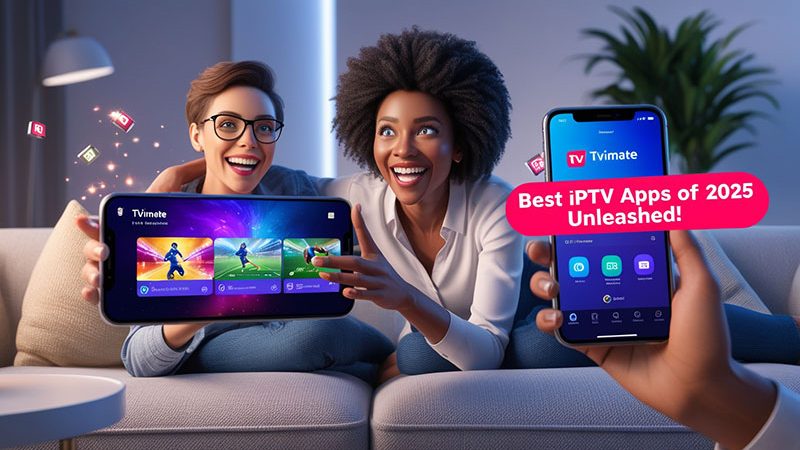
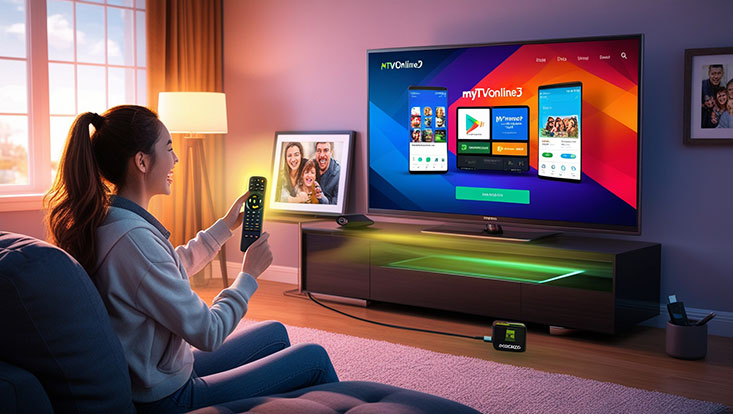
Best IPTV Apps for iOS in 2025
To avoid connectivity issues, ensure you’re using a reliable IPTV app. Here are some top picks for iOS users:
- IPTV Smarters Pro: User-friendly with excellent playlist support.
- GSE Smart IPTV: Supports multiple formats and easy troubleshooting.
- XCIPTV: Offers a sleek interface and stable performance.
Always download these apps from the official App Store to avoid security risks.
Preventing Future IPTV Connection Issues on iOS
To keep your IPTV running smoothly:
- Regularly update your iOS device and apps.
- Use a high-speed, reliable internet connection (preferably Wi-Fi).
- Stick to reputable IPTV providers with 24/7 customer support.
- Avoid overloading your device with too many background apps.
Conclusion
Dealing with IPTV not connecting on your mobile iOS device can be a hassle, but with the right troubleshooting steps, you can get back to streaming in no time. Start by checking your internet, verifying your playlist, and ensuring your app and iOS are up to date. If the issue persists, don’t hesitate to contact your provider for assistance.
FAQs

- Why won’t my IPTV connect on my iPhone?
It could be due to a weak internet connection, wrong playlist URL, or outdated app/iOS. - How do I fix IPTV buffering on iOS?
Check your internet speed, close background apps, or lower the stream quality. - Can a VPN cause IPTV issues on iOS?
Yes, disable your VPN temporarily to see if it resolves the problem. - What should I do if my IPTV playlist isn’t working?
Verify the URL with your provider and re-enter it in the app. - Why does my IPTV app crash on iOS?
Update the app, restart your device, or reinstall it to fix crashes.
Have you faced this issue before? Let us know which fix worked for you in the comments below! For more tech tips and IPTV troubleshooting guides, stay tuned to our blog.