How to Update Your Streaming App?
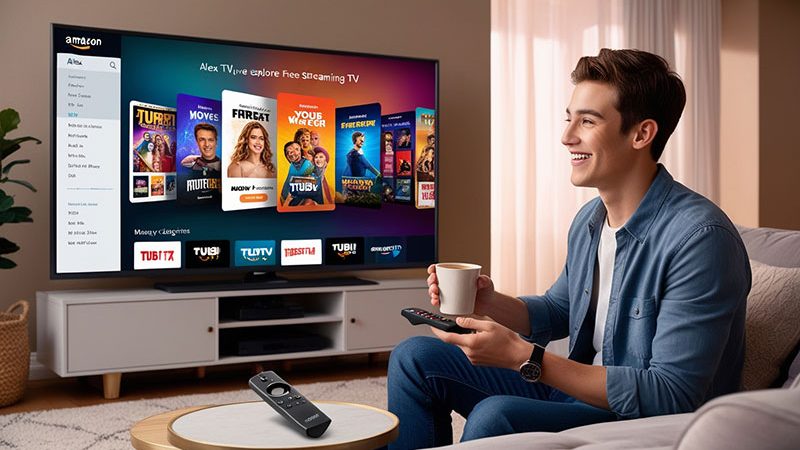
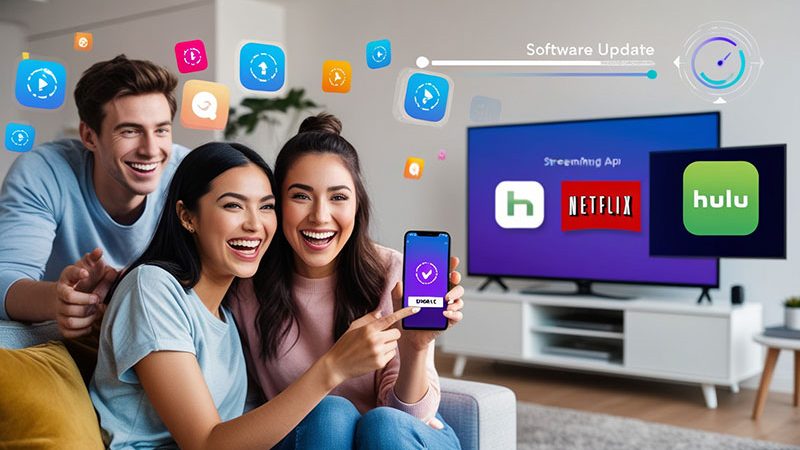
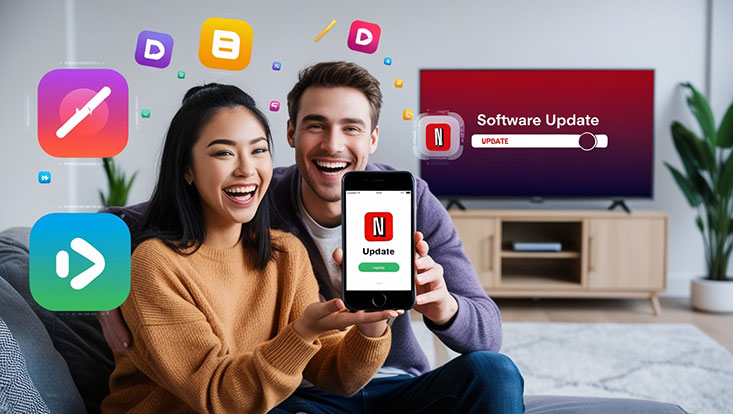
Keeping your streaming app updated ensures you enjoy the latest features, improved performance, and enhanced security. Whether you’re using Netflix, Hulu, Disney+, or another streaming service, updating your app is simple. This guide explains how to update your streaming app on various devices, including smartphones, smart TVs, and streaming devices like Roku or Fire Stick.
Why Should You Update Your Streaming App?
Regular updates fix bugs, improve streaming quality, and introduce new features like personalized recommendations or offline viewing. Outdated apps may lag, crash, or fail to load content, impacting your viewing experience. By staying current, you ensure compatibility with your device and access to the latest shows and movies.
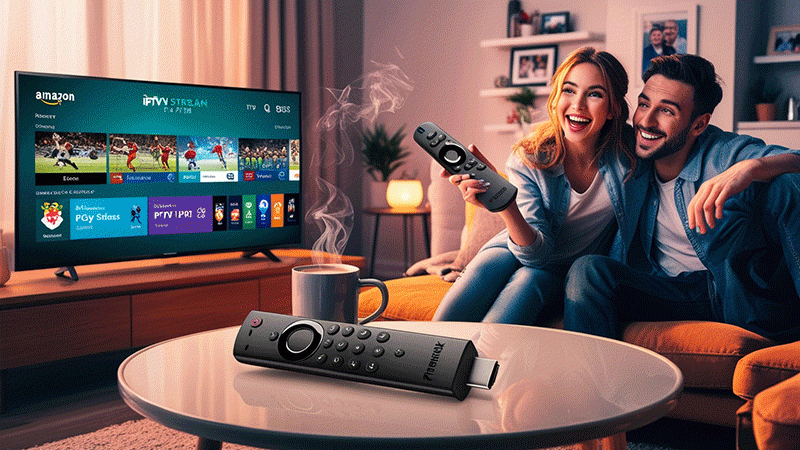
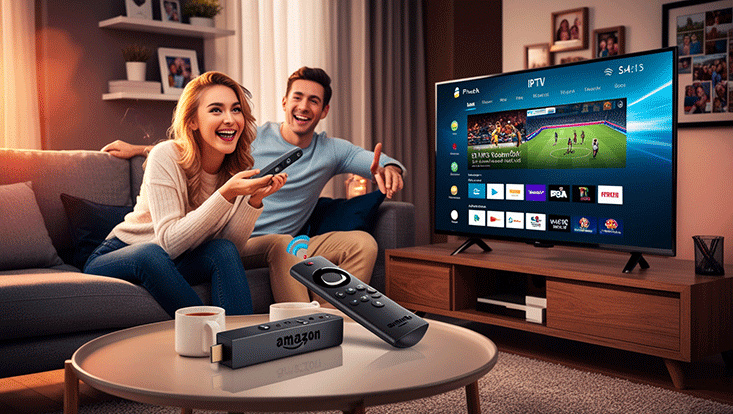
Buy 1 Year IPTV Subscription and Enjoy Unlimited Content
How to Update Your Streaming App on Different Devices
Follow these device-specific steps to update your streaming app effortlessly.
1. Update Streaming Apps on Smartphones and Tablets (iOS and Android)
For iPhone, iPad, or Android devices, app updates are managed through the App Store or Google Play Store.
- Step 1: Open the App Store (iOS) or Google Play Store (Android).
- Step 2: Search for your streaming app (e.g., Netflix, Hulu).
- Step 3: If an update is available, tap Update. If not, the button will show Open.
- Step 4: Wait for the update to download and install. Open the app to confirm it’s working.
Tip: Enable auto-updates to keep apps current without manual checks. Go to Settings > App Store (iOS) or Google Play Store > Settings > Auto-update apps (Android).
2. Update Streaming Apps on Smart TVs
Smart TVs from brands like Samsung, LG, or Sony have their own app stores.
- Step 1: Navigate to your TV’s App Store or Apps section from the home menu.
- Step 2: Find your streaming app using the search function.
- Step 3: Select the app and choose Update if available. Some TVs auto-update apps when connected to the internet.
- Step 4: Launch the app to ensure it’s updated.
Note: Ensure your TV is connected to Wi-Fi for updates. Check your TV’s manual for specific instructions, as interfaces vary.
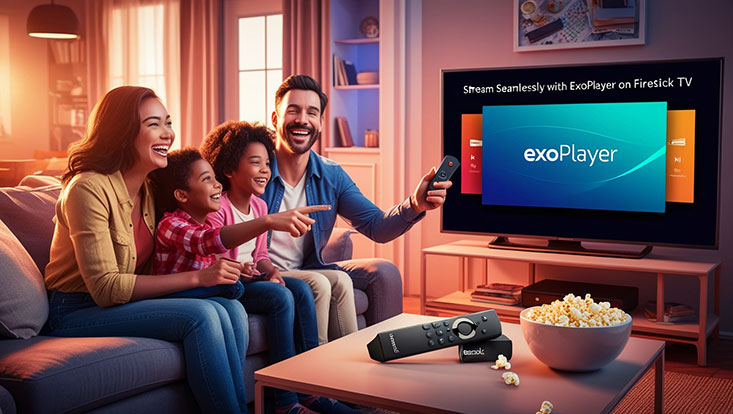
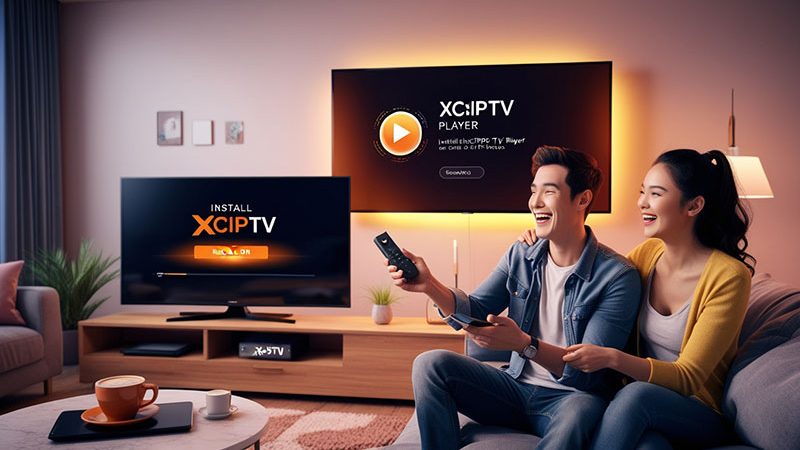
3. Update Streaming Apps on Streaming Devices (Roku, Fire Stick, Apple TV)
Devices like Roku, Amazon Fire Stick, and Apple TV require updates through their respective app stores.
- Roku:
- Go to Home > Settings > System > System Update to check for updates.
- Alternatively, highlight the app on the home screen, press the Star (*) button, and select Check for updates.
- Amazon Fire Stick:
- Navigate to Home > My Apps, highlight the app, press the Menu button, and select Update if available.
- Enable auto-updates via Settings > Applications > Appstore > Automatic Updates.
- Apple TV:
- Open the App Store, find the app, and click Update if prompted.
- Turn on auto-updates in Settings > Apps > Automatically Update Apps.
4. Update Streaming Apps on Gaming Consoles (PS4, PS5, Xbox)
Gaming consoles like PlayStation and Xbox support streaming apps.
- Step 1: Go to the console’s Store or Library (e.g., PlayStation Store, Microsoft Store).
- Step 2: Locate the streaming app and select Update if available.
- Step 3: Install the update and launch the app.
Tip: Ensure your console is online, as updates won’t download without an internet connection.
Troubleshooting Common Update Issues
If your streaming app won’t update, try these fixes:
- Check Internet Connection: A stable Wi-Fi or Ethernet connection is required.
- Clear Cache: Go to your device’s settings, find the app, and clear its cache.
- Restart Device: Power off and restart your device to refresh the system.
- Uninstall and Reinstall: Delete the app and reinstall it from the app store to get the latest version.
- Update Device Firmware: Ensure your device’s operating system is up to date, as older firmware may block app updates.
How to Enable Auto-Updates for Streaming Apps
To avoid manual updates, enable auto-updates on your device:
- iOS: Settings > App Store > Enable App Updates.
- Android: Google Play Store > Settings > Auto-update apps > Choose Over Wi-Fi only or Any network.
- Smart TVs/Streaming Devices: Check the app store or system settings for auto-update options.
- Consoles: Enable auto-updates in the console’s system settings.
Final Thoughts
Updating your streaming app is quick and ensures a seamless entertainment experience. Whether you’re on a smartphone, smart TV, or streaming device, follow these steps to stay current. For persistent issues, contact the streaming service’s support team or check their official website for device-specific guidance.
Stay tuned to your favorite shows with the latest app versions, and enjoy uninterrupted streaming!
Frequently Asked Questions (FAQs)

1. Why is my streaming app not updating?
Answer: Check your internet connection, clear the app’s cache, or reinstall the app.
2. How do I know if my streaming app needs an update?
Answer: Visit your device’s app store; an Update button indicates a new version is available.
3. Can I use a streaming app without updating it?
Answer: Yes, but outdated apps may lag, crash, or miss new features.
4. How do I update my streaming app on a smart TV?
Answer: Go to the TV’s app store, find the app, and select Update.
5. Do streaming app updates cost money?
Answer: No, app updates are free, but you need an active subscription for premium content.