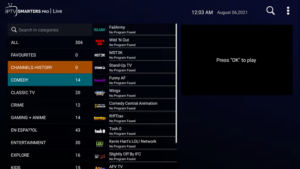
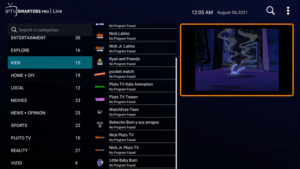
OTT TV stands for “Over-the-Top Television.” It refers to the delivery of video content over the Internet directly to viewers, bypassing traditional broadcast and cable television platforms. With OTT TV, viewers can access and stream their favorite TV shows, movies, and other video content using internet-connected devices such as smartphones, tablets, smart TVs, and streaming media players.
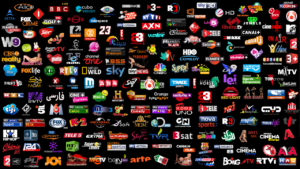
OTT TV services are typically provided by streaming platforms or providers, which may include subscription-based services like Netflix, Amazon Prime Video, Hulu, and Disney+, as well as free ad-supported platforms like YouTube and Tubi. These services offer a wide range of on-demand content, allowing viewers to choose what they want to watch and when they want to watch it.
One of the key features of OTT TV is its flexibility and convenience. Viewers can access content on-demand, meaning they can watch shows and movies at their own pace, pausing, rewinding, or fast-forwarding as desired. Additionally, OTT TV allows for personalized recommendations and content discovery based on viewers’ preferences and viewing history.
OTT TV has gained significant popularity in recent years due to advancements in internet connectivity, the proliferation of smart devices, and the increasing availability of high-quality streaming content. It has revolutionized the way people consume television, offering greater control and choice over traditional TV broadcasting.
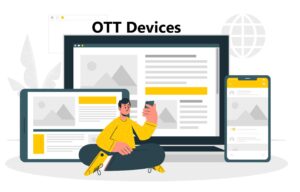
Which devices support OTT
OTT TV can be accessed on a wide range of devices that have internet connectivity. Here are some common devices that support OTT TV:
- Smart TVs: Many modern smart TVs come with built-in apps or operating systems that support popular OTT TV services. Examples include LG WebOS, Samsung Tizen, Android TV, and Roku TVs.
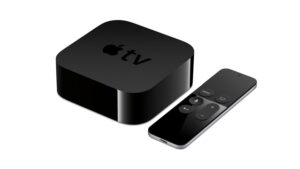
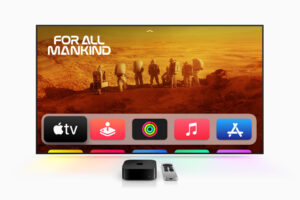
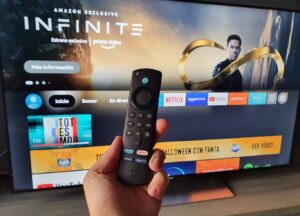
- Streaming Media Players: Devices like Roku, Amazon Fire TV Stick, Apple TV, Chromecast, and Nvidia Shield TV are dedicated streaming media players that allow you to connect your TV to the internet and access various OTT TV services.
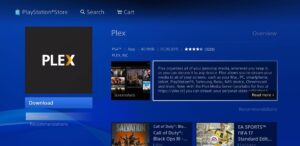
- Game Consoles: Consoles such as Xbox One, Xbox Series X/S, PlayStation 4, and PlayStation 5 often have apps available for popular OTT TV services, allowing you to stream content directly on your gaming console.
- Set-Top Boxes: Devices like Roku, Apple TV, Nvidia Shield, and Amazon Fire TV Cube are standalone set-top boxes that connect to your TV and offer a variety of OTT TV apps and services.
- Streaming Sticks: Similar to set-top boxes, streaming sticks like Amazon Fire TV Stick, Google Chromecast, and Roku Streaming Stick plug directly into the HDMI port of your TV and provide access to OTT TV services.
- Mobile Devices: Smartphones and tablets running on iOS (iPhone, iPad) or Android operating systems often have dedicated apps for OTT TV services, allowing you to stream content on the go.
- Computers: OTT TV services usually have web-based platforms or downloadable desktop applications that enable streaming on laptops and desktop computers.
- Smart Displays: Smart displays like Amazon Echo Show and Google Nest Hub offer OTT TV support, allowing you to watch videos and stream content on their integrated screens.
These are just some of the popular devices that support OTT TV. As long as a device has internet connectivity and a compatible app or web browser, it can likely be used to access OTT TV services.
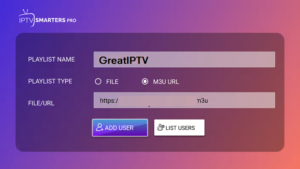
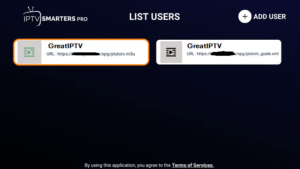
Great Premium IPTV Subscription
Great IPTV is the best IPTV provider with more than 10,000 channels and more than 40,000 VOD on a private server using +10Gbps Network, we at Great Premium IPTV are looking forward to Helping All IPTV Users to enjoy their IPTV Subscription, we have the best Premium IPTV Subscription Which you can BUY Great IPTV Subscription From Here.